GTL : DIY Canvas Art
There's nothing I love more than an abstract canvas. Artwork is one of the best things you can do for your walls and your decor, so why not customize your own to suit your space? I scored a cute little canvas at the dollar store a while back and knew that I wanted to whip it into something cute, so I documented the process to show you how you can GTL (Get The Look) for yourself! Trust me, it's not as hard as it may seem. I was a bit nervous at first, but as soon as I got going, it was really fun.
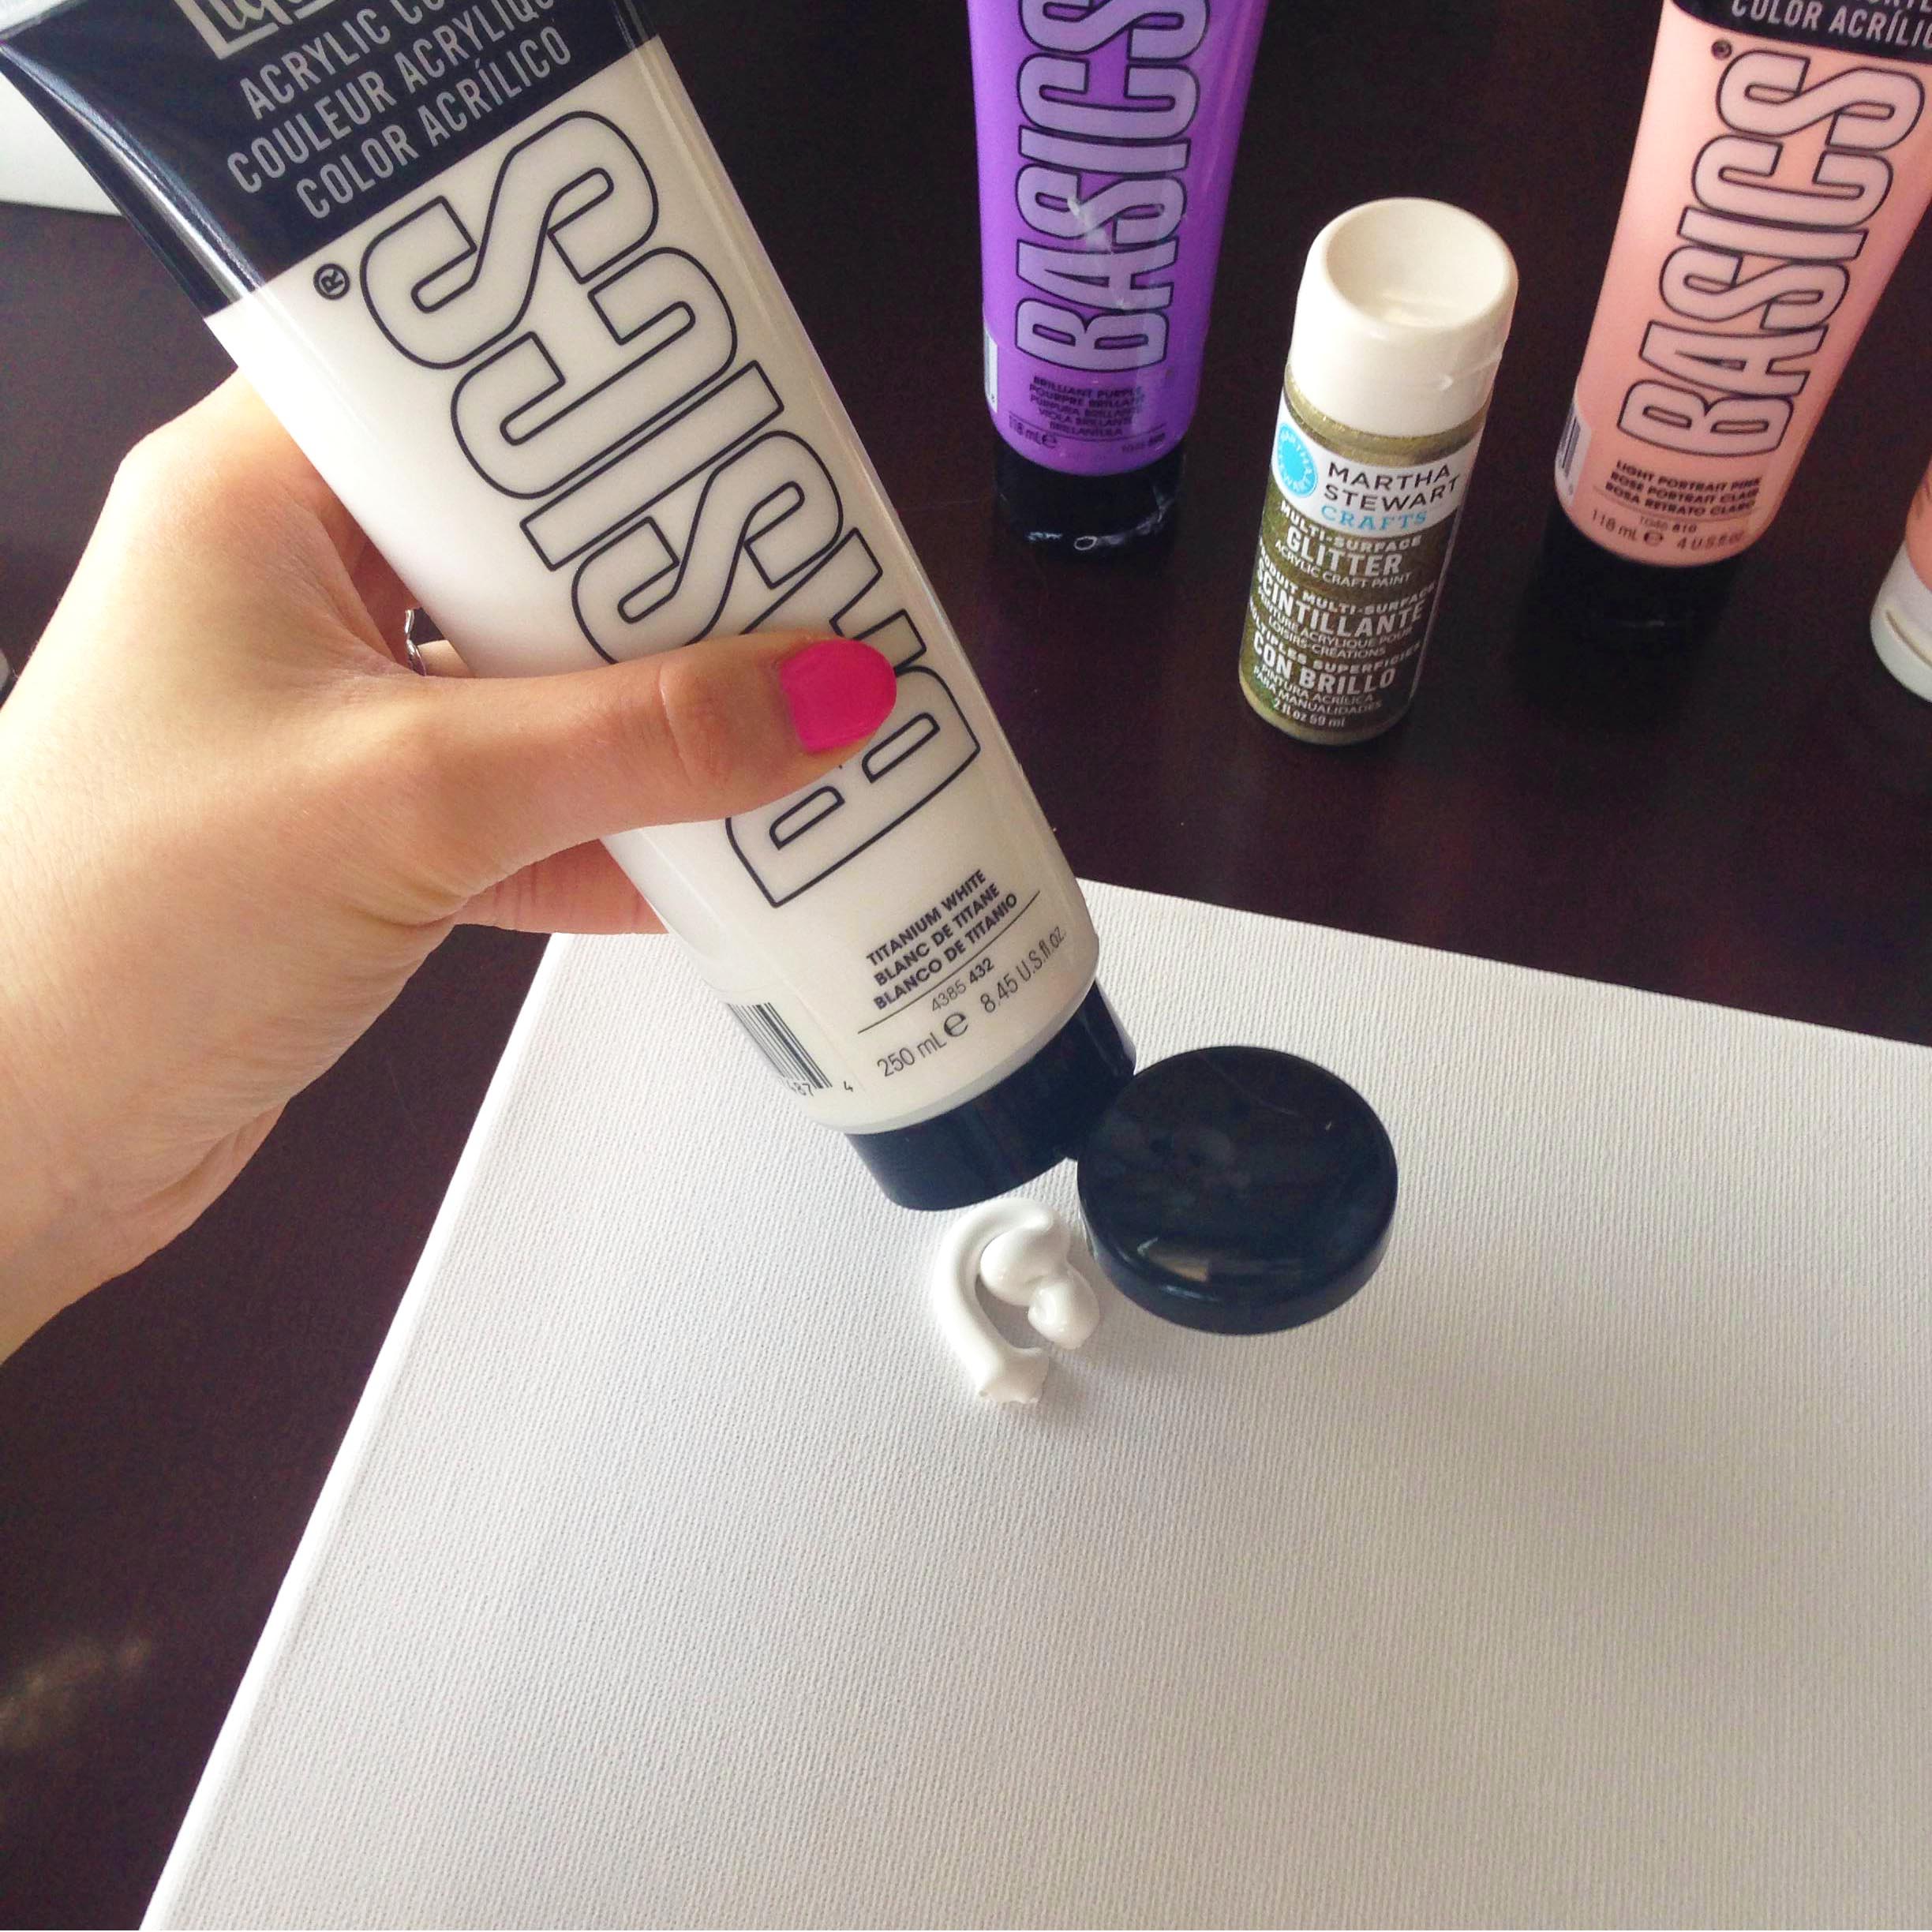
All you need are a canvas, some acrylic paints (I got mine at Micheal's), and some plastic paint knives - I had these laying around from my days as a design student, but you can get them at any art store. Paper towels and a dish of water are also super important, especially if you're working on your dining table like I was!
(PS- Remember the cute topiaries from Swish Flowers? Still loving them!)
To start off I picked white as my base colour and added some blobs all around the canvas. This is where the fun begins!
Next I used a knife to spread it around and create some texture. Literally, just push it around in long or short strokes, horizontally and vertically, and you'll see some amazing patterns start to jump out at you. It's a bit like frosting a cake!
This is how it'll look once you've spread it all out. Loving it already!
Now we're ready to add more colour. How about pink? Ummm yes. Blob away and spread like crazy.
Once the pink was spread out, I wanted a bit more colour to add more dimension. I chose purple, but because I didn't want it to overwhelm the pink and white, I added more white to help it blend in a bit better. You know the rest - blend it like you mean it.
I'm kneeling on my chair to give you a better view. Anything for a good shot!
At this point I was pretty happy with how the canvas was turning out. But if you know anything about me, there was still a very important element to add to this bad boy: GOLD.
Oh, and you've probably noticed my hands getting covered in paint. It's inevitable but don't worry, it washes off!

All done! What I didn't picture was going back and adding a bit more white here and there. I found that with all the mixing, it had blended with the other colours and wasn't as prominent as I wanted. So, a few more white areas here and there and I was totally satisfied. You'll find that doing this adds more layers and makes the final product that much prettier. Totally worth it!
These works of art take a day or two to completely dry, so put them somewhere where they won't be disturbed. I hid mine in my office with the door closed to keep feline footprints from destroying the canvas and everything else in the house. Once it's completely dry, you're ready to hang it and enjoy!
I haven't decided exactly where I want to hang this, so it's currently chilling in my office with my little skull man. The texture can be seen best in the picture above!