How To Paint A Room Like A Pro
This is a sponsored post written by me on behalf of Painter’s Mate Green® painter’s tape. All opinions are 100% mine.
If there’s one house upgrade that you can do (relatively) easily and affordably, it’s to paint. Painting a room gives an instant decor refresh and is a great way to totally change up your space on a budget. However - painting is not without its downfalls. If you rush a paint job, you’ll definitely be able to tell and there are a few shortcuts you do not want to take, trust me - I’ve probably made every painting mistake you can! haha Seeing as we just finished painting our spare bedroom, I thought this would be the perfect time to talk a bit about how to get a perfect finish when you’re painting a space!


Step 1: Prep Your Walls
To get the best results it’s definitely worth the time getting your walls and ceilings properly prepared before painting. Your walls and ceilings should be clean, dust free and completely dry. If any areas need to be repaired or patched, now’s the time to do so!
Step 2: Clear the Area
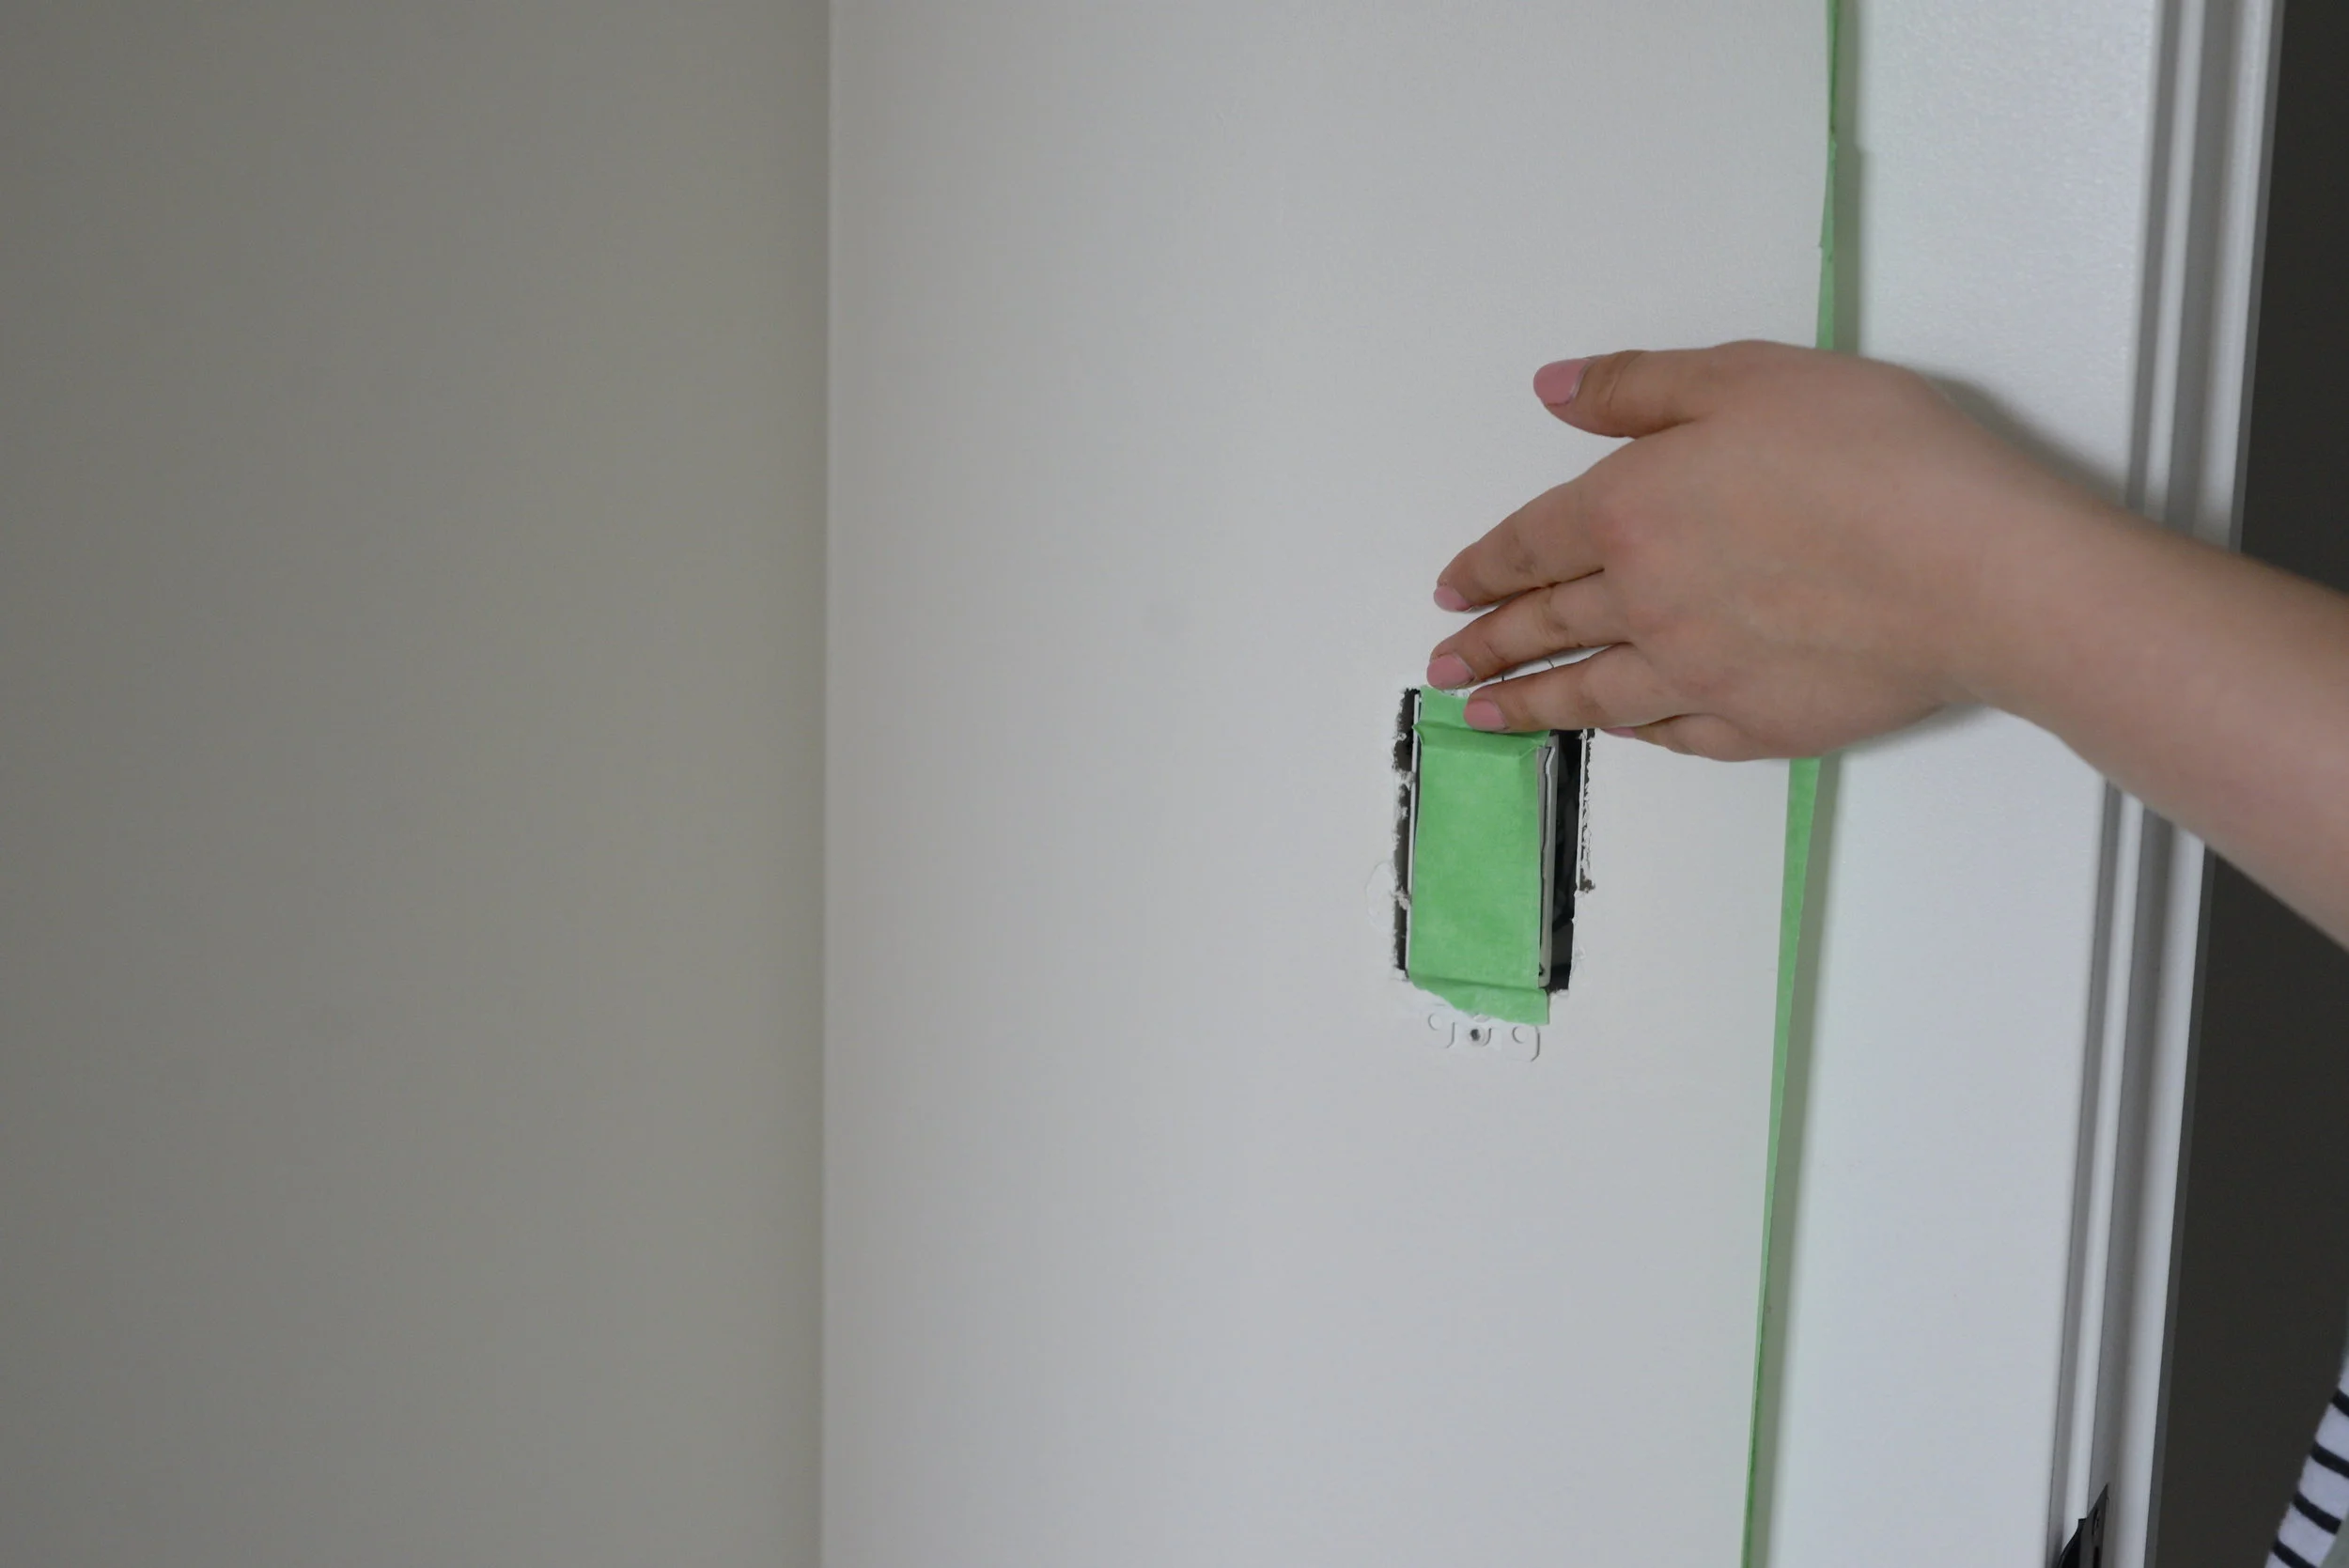
It’s easiest to paint in a room that’s as clear as possible. Remove artwork, accessories and any furniture you can from the room to allow for more space to work. I also like to remove the electrical face plates and air vent grates so that they don’t get paint on them either. To protect your switches, use a painting tape you can trust such as Painter’s Mate Green® painter’s tape. This will keep your switches free from paint and save any headaches from having to do unnecessary touch ups after you’re done.
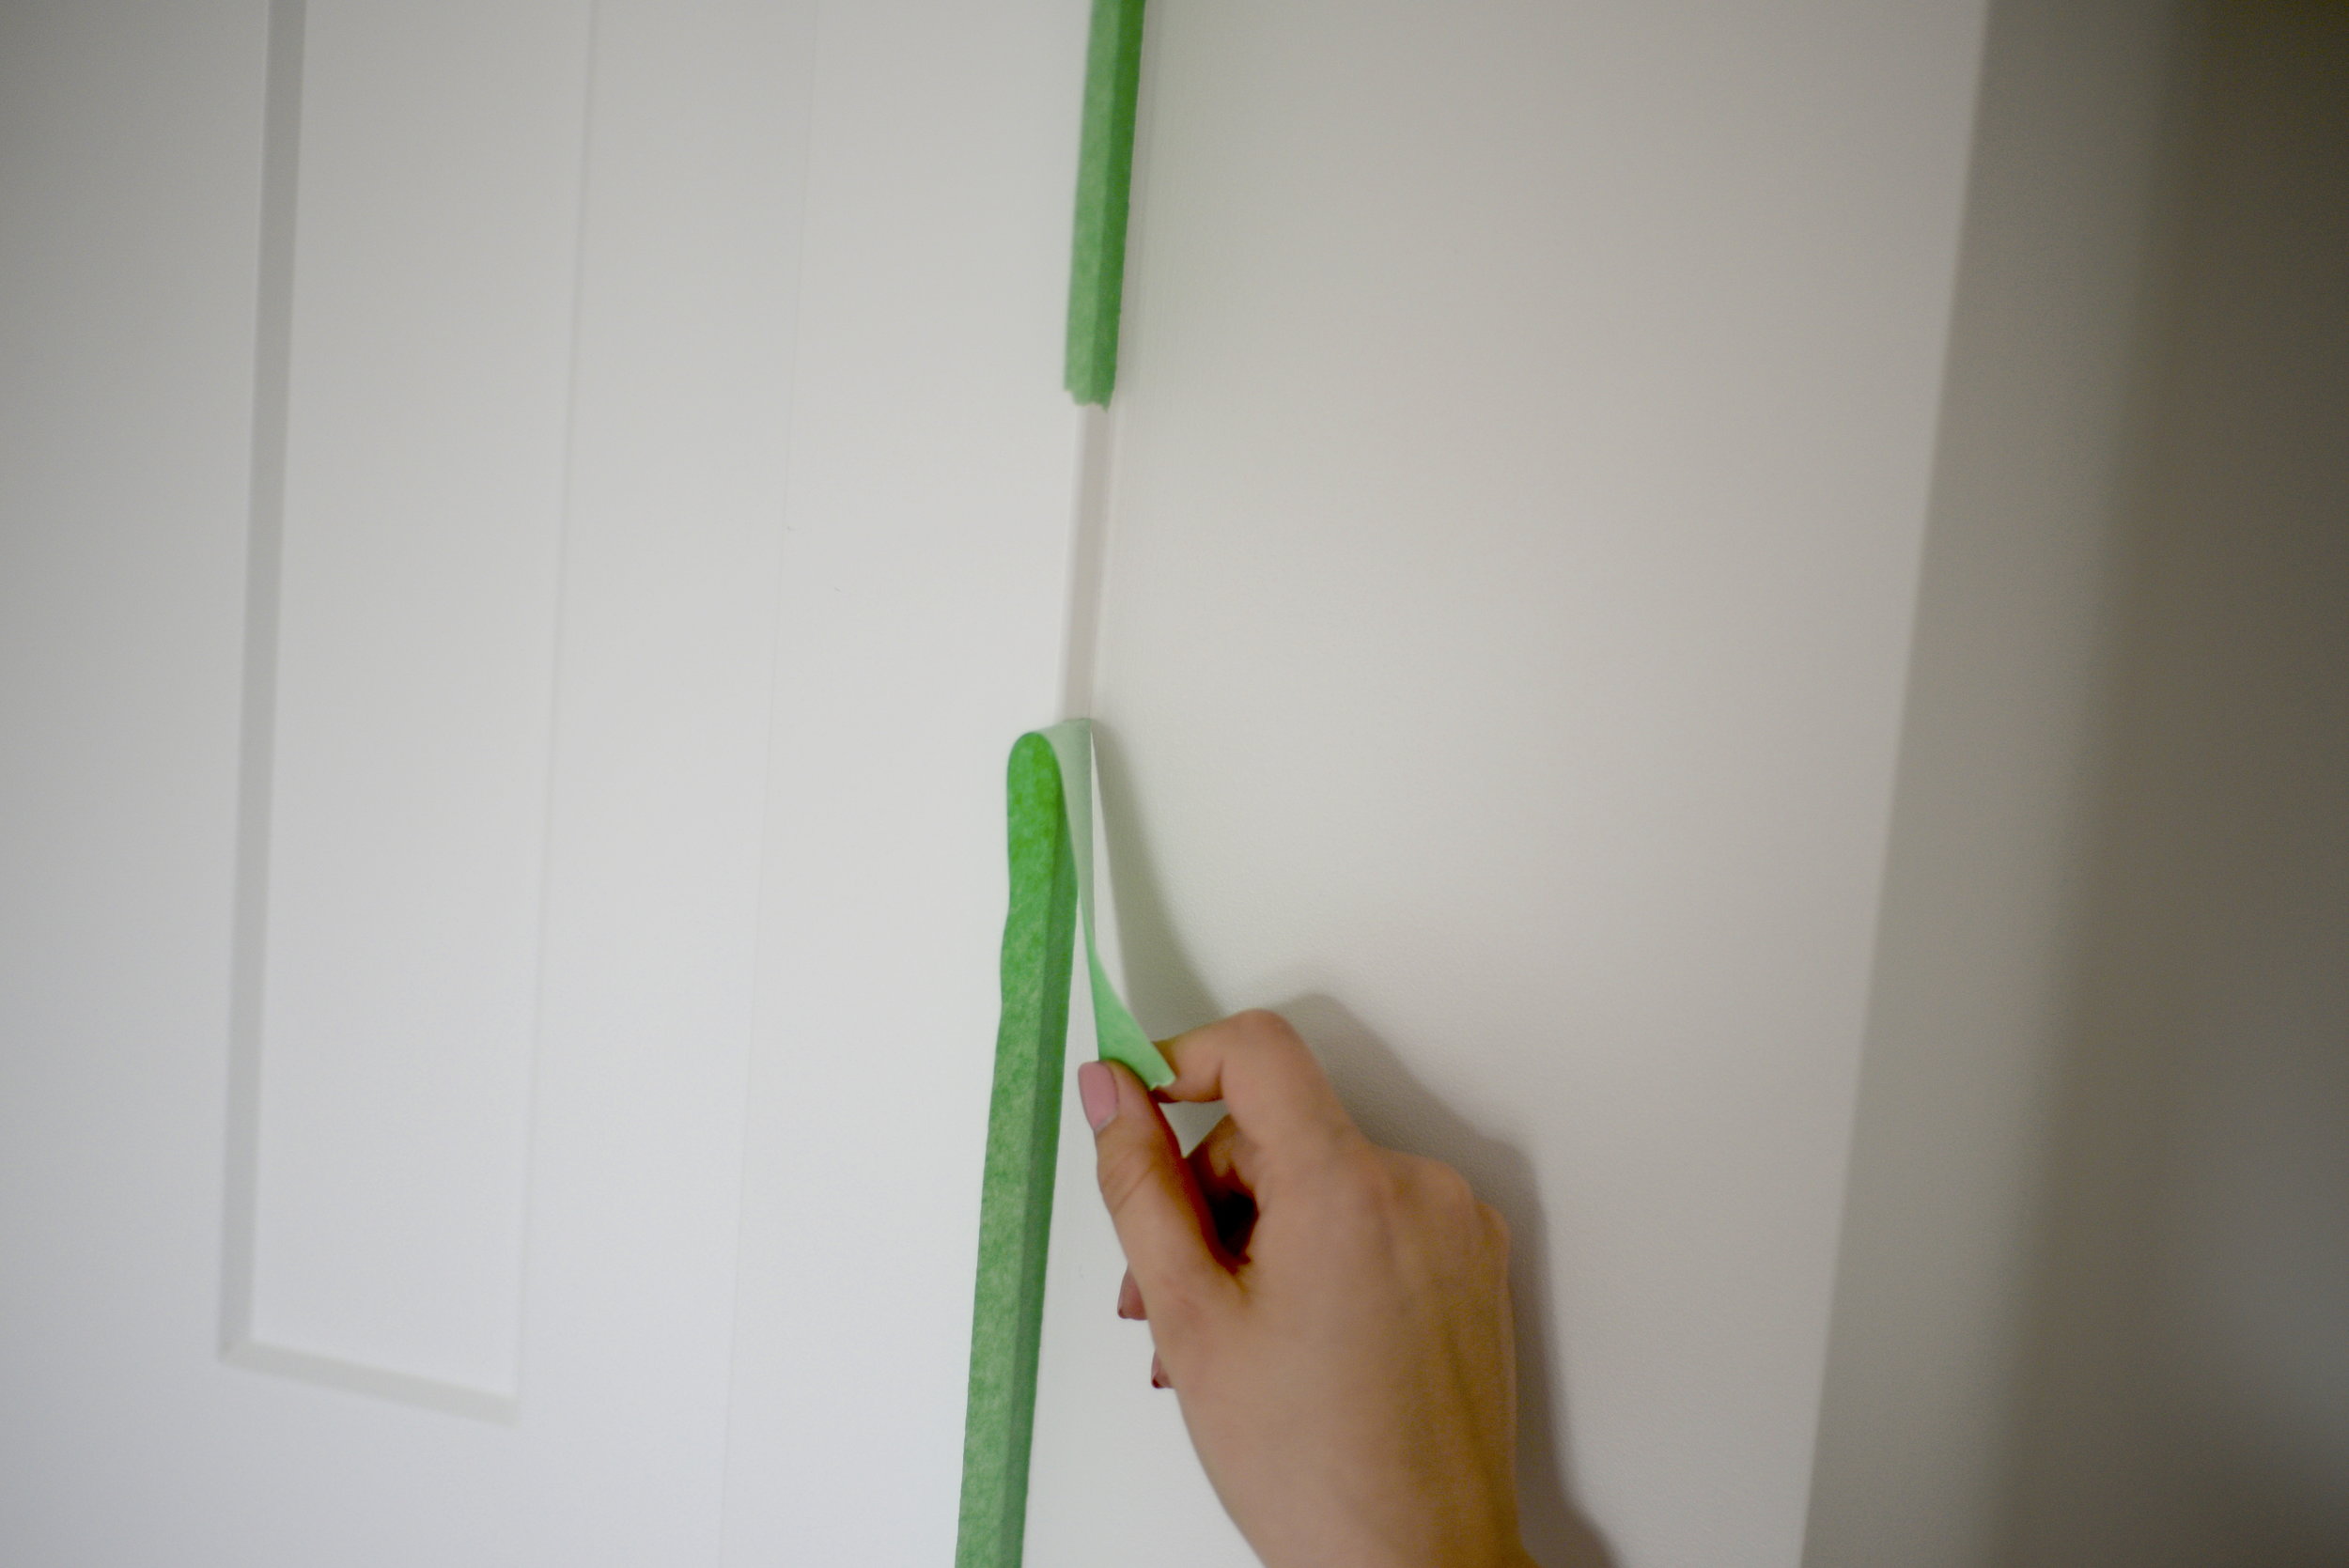
Step 3: Get out the Tape
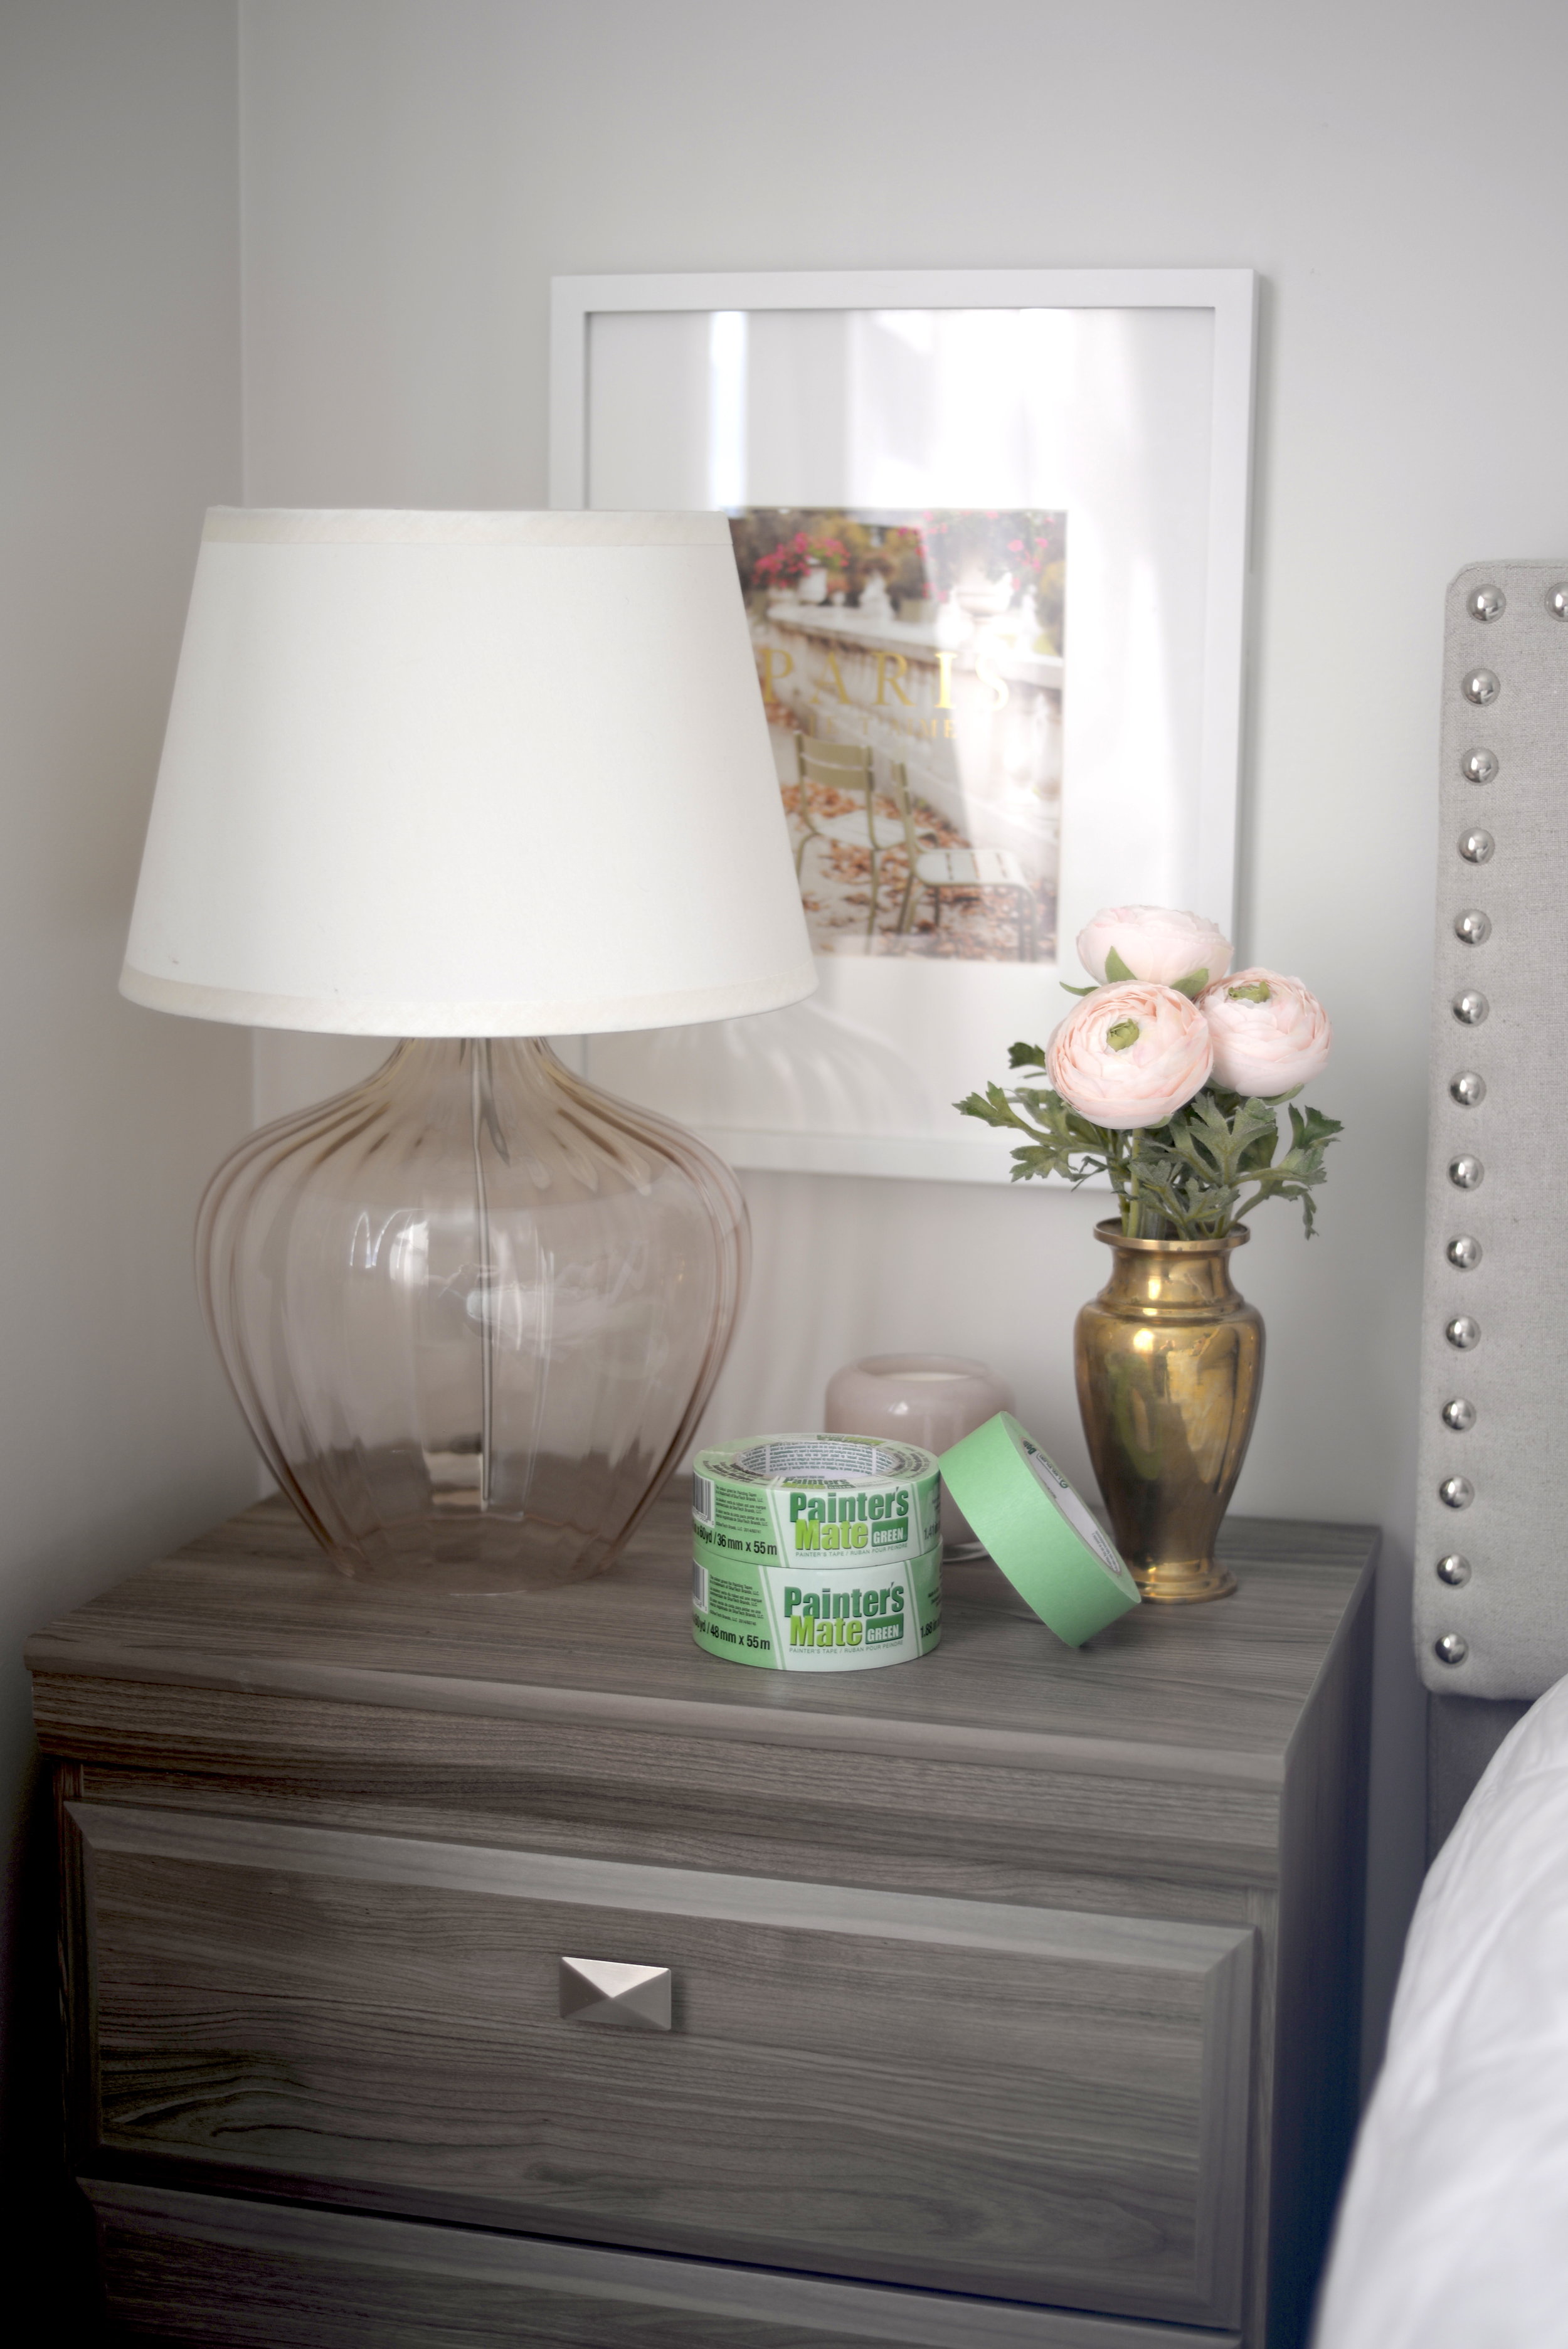
This step is without a doubt the most important step in the process. I can’t tell you how many times I’ve thought I could get away without taping off a space properly and it’s always been a disaster! haha Or, when I’ve used a poor quality tape that’s ended up being more of a hassle than help. In this past room that we painted we used Painter’s Mate Green® painter’s tape and James and I were both so happy with how it worked.
Painter’s Mate Green® painter’s tapeis a great all-purpose tape for home renovation projects. If you're painting walls, you’ll need to tape the ceiling, floor trim, window and door frames. To paint a ceiling, you'll want to tape sections of the adjoining walls.
Here are a few tips when you’re taping a space before painting
-
When you're applying tape, apply it flush with and as close as possible to the surface you'll be painting to ensure clean, bleed-free lines.
-
If you're painting multiple surfaces, always make sure fresh paint is fully cured before you apply tape to the surface. While paint may dry in a few hours, it takes several days to cure.
-
Use short strips of tape. If you try to use strips that are too long, you will stretch the tape, and this will lead to paint bleeding onto the surfaces you're trying to protect.
-
Apply tape in foot-long strips. Be sure to slightly overlap each section of tape so that paint can't get through.


Step Four: Prime + Paint
Once you’ve taped off your space, the first step is to use a primer on your walls. A good primer will help to ensure a smooth and consistent base for your paint to adhere to and give you a better finish at the end of your project. Allow the primer to fully dry a day and then you can start painting away! Take your time and apply paint in even layers. The number of coats you’ll need will depend upon several factors such as the color you’re applying and covering over but usually 1-3 will do it!

Step Five: Remove Tape + Set up Space
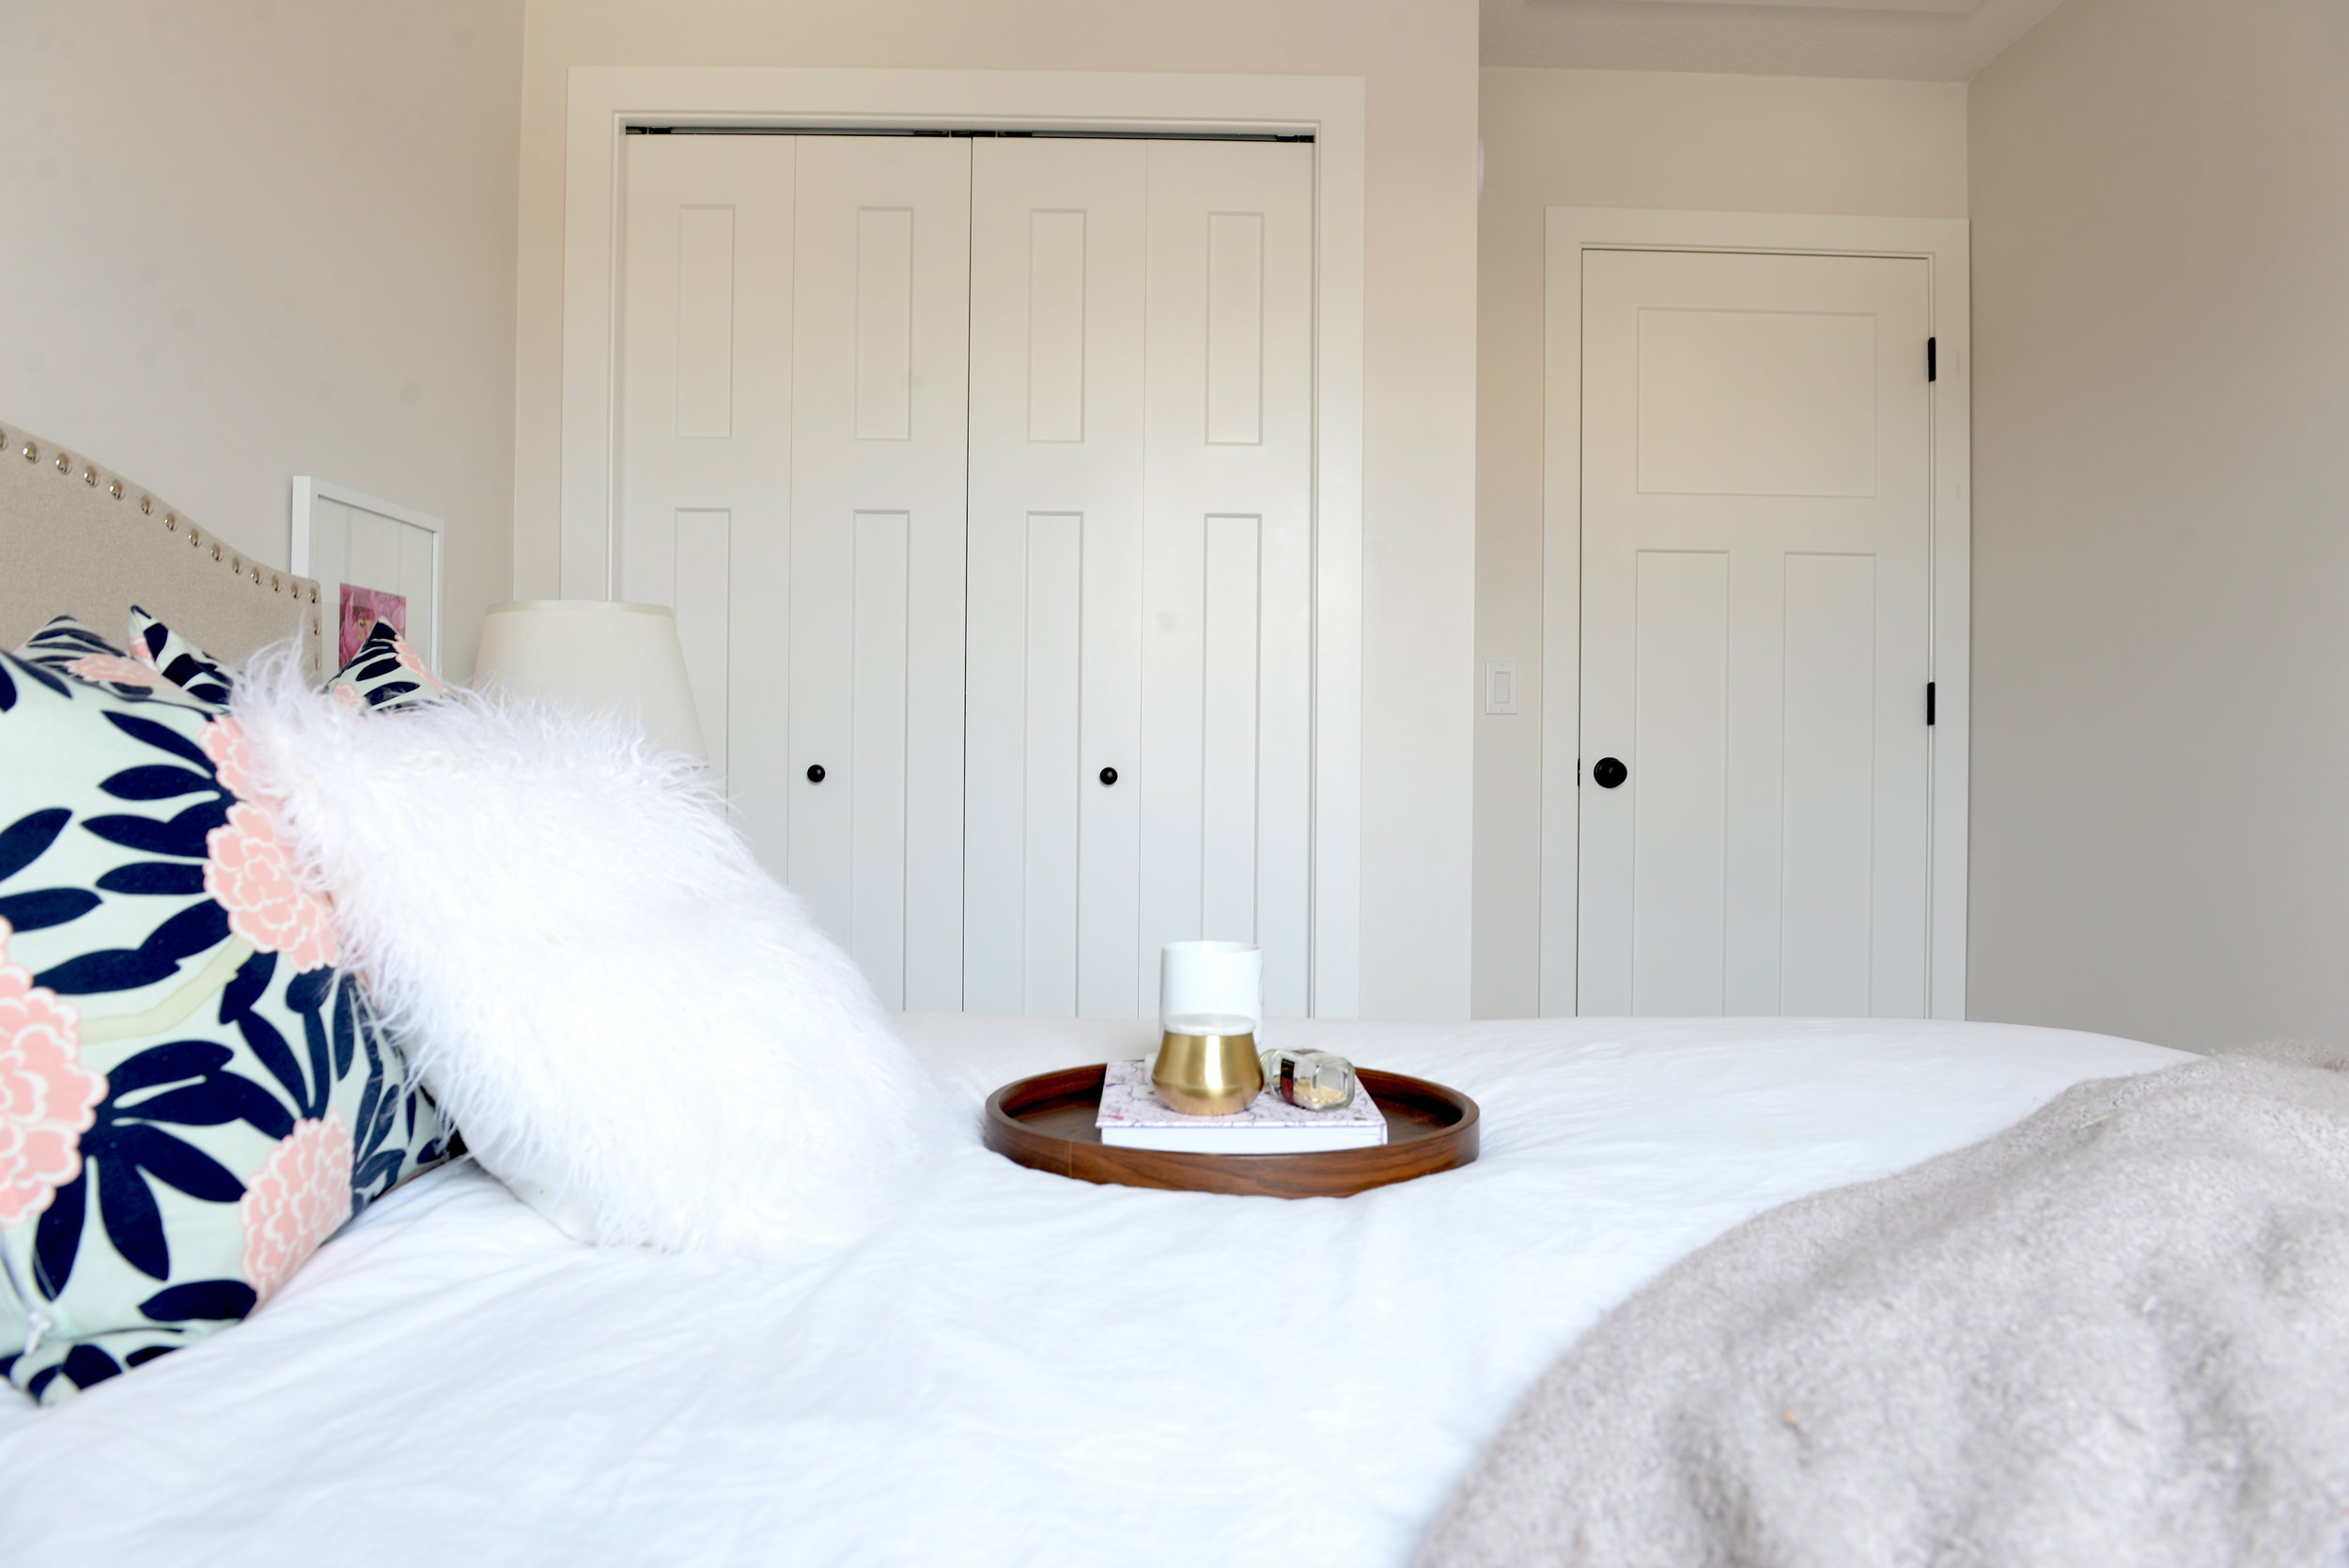
For the best finish, remove your Painter’s Mate Green® painter’s tape as soon as you’re finished taping. Pull the tape off slowly and at an angle towards yourself then allow the space to dry. It’s best if you can wait a few days before putting your space back together to avoid chipping or damaging any of your freshly painted walls! Once the paint has dried you can sit back and admire your handy work!

Really, when you’re painting a space the prep work will take about as long if not longer than the painting itself but trust me, it’s worth it to take your time and do the job right. Using the right tools such as high quality paint, a good paintbrush and roller and Painter’s Mate Green® painter’s tape can make a painting project go smoothly and help you achieve a better painting result at the end.
Now go on and get painting!
